

Stirling Engine | Educational Experiment - DIY Assembly Kit
Tax included
Dans la boîte
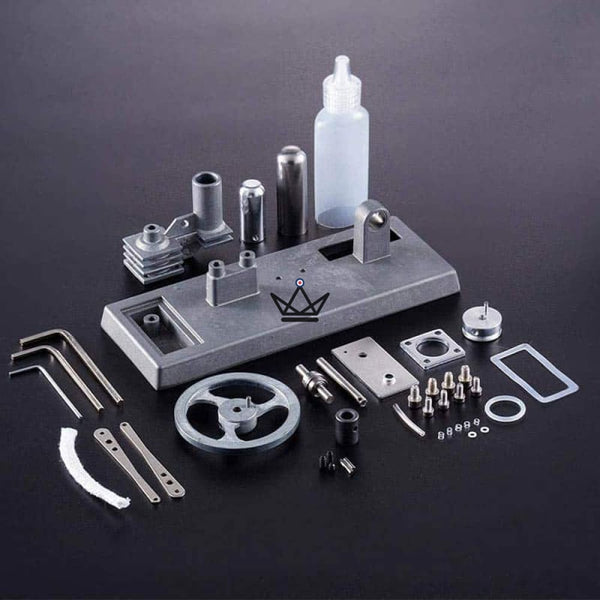
- Stirling engine spare parts for assembly
- Assembly instructions
Everything you need to know
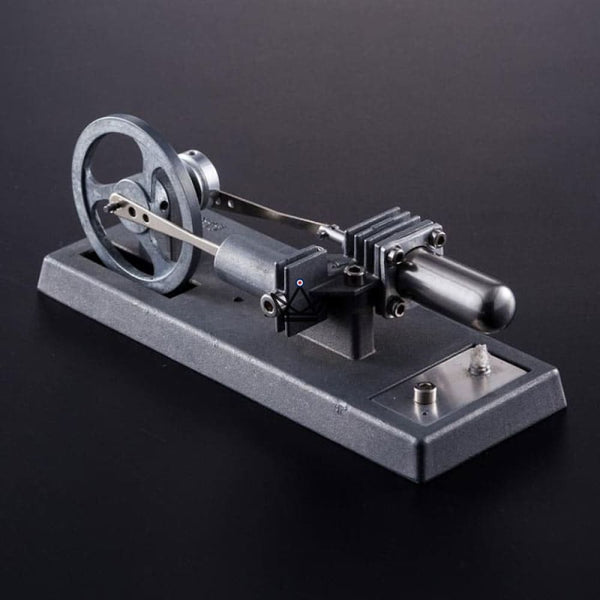
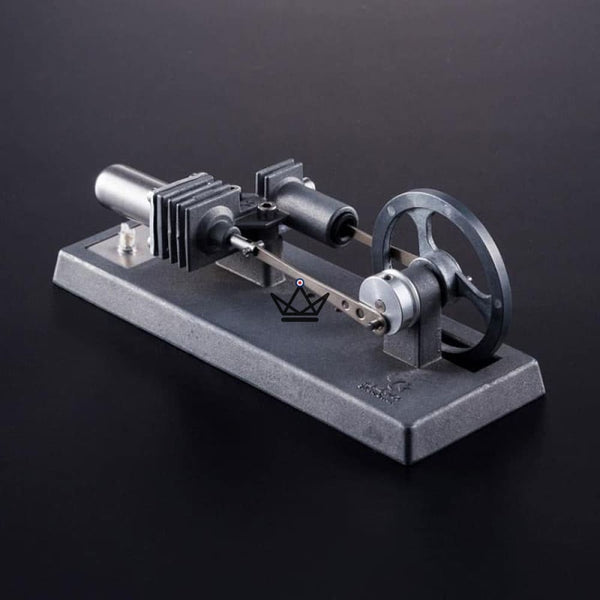
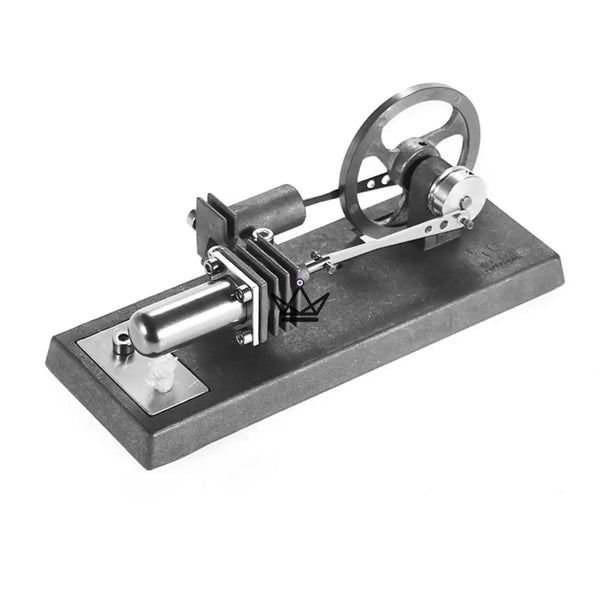
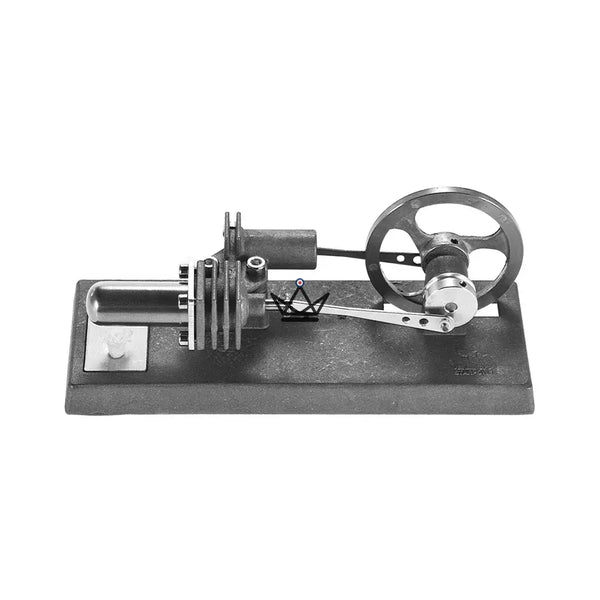
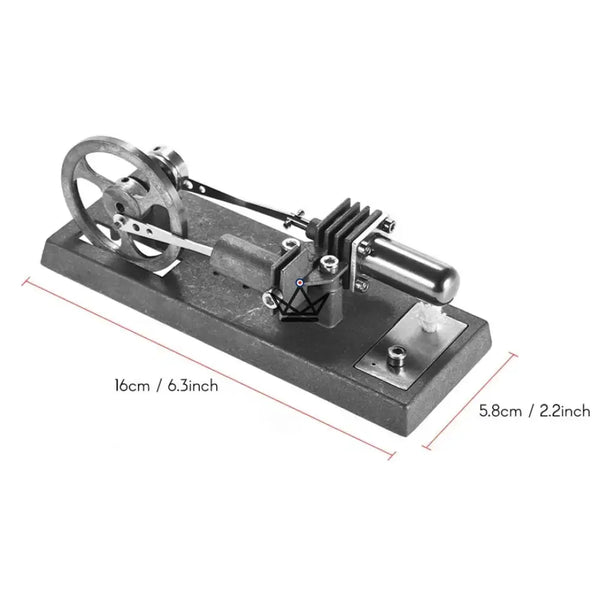
The build-it-yourself Stirling engine is a scientific demonstration kit designed for mechanics enthusiasts, engineering students, and hobbyists. Sold as a set of spare parts to be assembled by yourself, it offers a complete educational experience in two stages: first, the pleasure of manual assembly (a deep understanding of its operation through piece-by-piece construction), and then the spectacle of its operation once the engine is complete. Based on the principle invented in 1816 by Robert Stirling, this model faithfully reproduces the classic architecture of historical steam engines: horizontal piston, vintage-style spoked flywheel, and a robust metal base. Once assembled and activated by an appropriate heat source, it becomes a particularly spectacular living demonstration of the principles of thermodynamics. Compact size of approximately 22 × 8 cm, ideal for display on a desk or shelf. An exceptional gift for those who love understanding how things work. Assembly Kit Mechanical Demonstration
The advantages of the build-it-yourself Stirling engine
The principle of the Stirling engine
Invented in 1816 by the Scottish clergyman Robert Stirling, the Stirling engine is one of the most elegant heat engines ever designed. Unlike modern internal combustion engines (gasoline, diesel) which operate by explosion inside the cylinder, the Stirling engine uses an external heat source — flame, solar heat, steam — to alternately heat and cool a gas trapped inside a cylinder. The cyclic expansion and contraction of this gas set in motion a piston connected to a flywheel that maintains rotation and releases energy consistently.
This principle of external thermal energy gives the Stirling engine several remarkable advantages: quiet (no explosions), versatile (can run with any heat source), reliable (few moving parts compared to a conventional piston engine). For these reasons, the Stirling engine is still used today in specific applications: solar thermal generators, cryogenics (reverse cycle), and Swedish Gotland-class submarines which use Stirling engines for air-independent propulsion due to their exceptional acoustic stealth.
THE SPIRIT OF THE ASSEMBLY KIT: UNDERSTANDING BY DOING
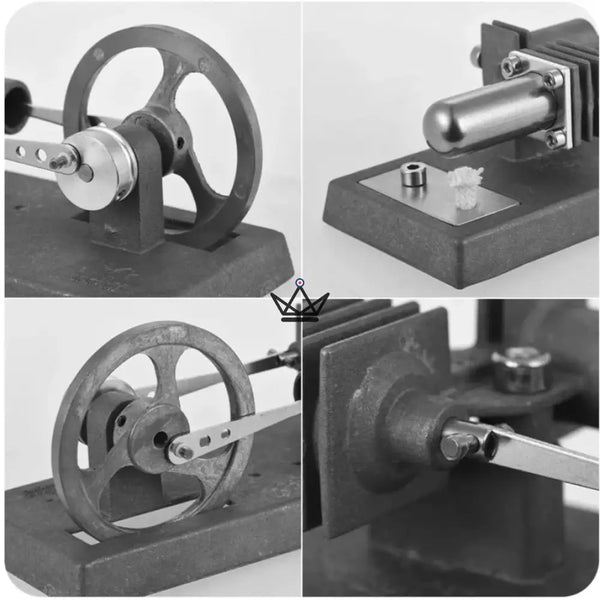
There are two ways to discover a Stirling engine. The first: buy an already assembled model, place it on a cup of hot water, and watch it turn. It is satisfying, but the mechanism remains mysterious — you observe the result without having penetrated the logic of how it works. The second: assemble each part yourself, understand the role of each component (cylinder, piston, connecting rod, flywheel, support), solve the small technical challenges of assembly, and physically feel how thermal energy is transformed into mechanical movement. This second path is infinitely more rewarding — it is the difference between watching a demonstration and becoming a mechanic yourself. For fans of modeling, mechanics, or simply those who love understanding how things work through manual action, the assembly kit offers an experience that the assembled product can never replicate. Once finished, the engine becomes an object of personal pride to display — you will be able to say in all sincerity: "I built it myself."
The 4-phase assembly process
Assembly tip: never force anything. If a part doesn't fit, it is likely oriented incorrectly or the previous one is not positioned properly. Go back to the previous step before moving on. For screws and bolts, tighten gradually and alternately (like a car wheel) to avoid deformation. Lubricate only the moving axes with a very small amount of dry graphite lubricant — never use oil, which would clog the mechanism. Once assembled, the engine must exhibit free rotation of the flywheel without any perceptible friction when turned by hand — this is the essential criterion for the quality of your assembly.
Difficulty level: this kit is intended for teenagers and adults with some manual dexterity. Assembly generally takes 1 to 3 hours depending on your previous experience with technical modeling. No advanced skills are required — the provided manual guides every step. For beginners in modeling, plan for some quiet time and work without rushing. For experienced enthusiasts, the kit assembles easily and offers immediate satisfaction. This product is not suitable for children under 14 (small parts, precise adjustments required).
Before the first startup: check that all axes turn freely, that all screws are properly tightened (but not overly so), and that nothing is rubbing abnormally. The engine will not start if the assembly has a major defect — this is also a quality check of your work.
Operating precautions: depending on the heat source used (alcohol lamp, lighter, tealight candle), observe standard safety instructions for technical modeling: constant supervision during operation, keep away from flammable materials, place on a non-flammable surface under the engine. Keep out of reach of children during operation — the hot area can reach high temperatures.
Technical specifications
| Product type | DIY Stirling engine kit |
| Architecture | Horizontal piston engine with flywheel |
| Delivery format | Spare parts with assembly instructions |
| Assembled dimensions | Approx. 22 × 8 cm |
| Main material | Metal for mechanical parts |
| Flywheel | Vintage spoked style |
| Assembly time | 1 to 3 hours depending on experience |
| Difficulty level | Intermediate (teens and adults) |
| Heat source | Per instructions (alcohol lamp or tealight candle) |
| Audience | Mechanics enthusiasts, modelers, engineering students |
| Recommended age | 14 years and older |
The ideal gift for mechanics enthusiasts
The build-it-yourself Stirling engine kit is an exceptional gift that combines leisure activity (the assembly) and a scientific decor object (the result to display). It offers several hours of engagement to the recipient, making it a particularly rewarding gift compared to a simple, pre-bought item. Ideal for modeling enthusiasts, engineers, teenagers curious about science, physics teachers, clockwork mechanics fans, or scale model lovers. Perfect gift for Father's Day, birthdays, Christmas, or as a graduation gift in engineering. For recipients who prefer to avoid assembly, we also offer pre-assembled Stirling engines in our collection.
